Regions and Lines
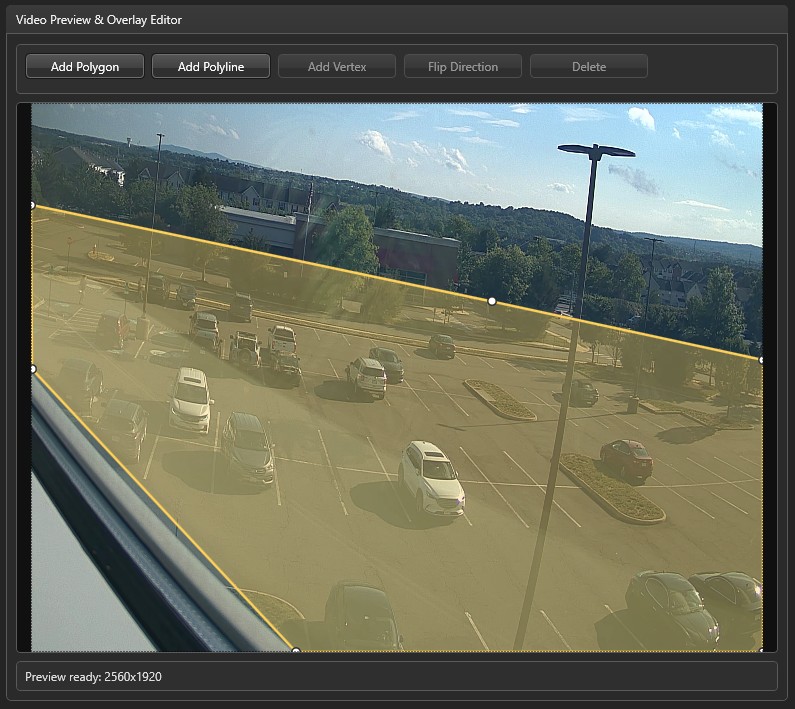
The Video Preview & Overlay Editor on the right side of the Camera Analytics page is where you draw the areas you want EyesOnIt to watch. Regions define where object detection runs within the frame, and lines define boundaries that can trigger an alert when an object crosses them.
Working with regions and lines is visual and interactive — you draw directly on the camera frame rather than entering coordinates, so it is easy to get things positioned correctly.
Toolbar
The toolbar above the preview canvas provides the tools you need to build and edit your geometry:
- Add Polygon — creates a new detection region.
- Add Polyline — creates a new boundary line.
- Add Vertex — adds a new point to the currently selected shape, letting you refine its outline.
- Flip Direction — reverses the directional arrow on the selected line. This affects which crossing direction is treated as positive in line-cross alert conditions.
- Delete — removes the selected shape or vertex.
Working with regions
When you first add a camera, EyesOnIt automatically creates a default region that covers the center of the frame. From there, you can refine it to focus on the area that matters:
- Drag the region to reposition it anywhere in the frame.
- Drag individual vertices to reshape the polygon.
- Select an edge and click Add Vertex to add a new point along that edge.
- Click Delete to remove a region — though at least one region must always remain.
Each region you create gets its own entry in the navigation tree on the left. Selecting a region in the tree is how you access its detection settings, motion detection settings, and alerting rules.
Region — General settings
Select the Region - General entry for a region to access its basic properties.
| Setting | Description |
|---|---|
| Enabled | Turns detection on or off for this region. Disabling a region is a convenient way to temporarily stop detection without losing your configuration. |
| Region Name | A label for the region that will appear in alerts and search results. Giving regions descriptive names — like "Entrance" or "Loading Bay" — makes it much easier to understand alert context at a glance. |
Working with lines
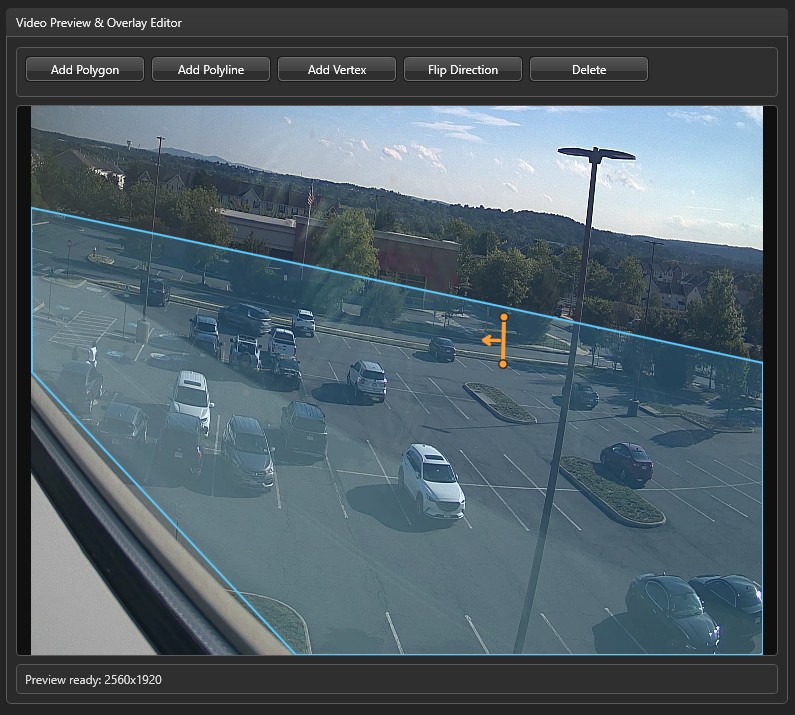
Boundary lines let you detect when objects cross a specific threshold in the frame — for example, to alert when someone enters a restricted area through a particular doorway.
To add a line, click Add Polyline in the toolbar. The new line will appear in the navigation tree. Select the Line # entry for that line to give it a name, which you will need when configuring line-cross alert conditions.
| Setting | Description |
|---|---|
| Line Name | A label for the line, used when setting up line-cross alert conditions. |
The arrow on the line shows the positive direction. Use Flip Direction in the toolbar if you want to reverse it. When you later configure a line-cross alert condition, you can set it to trigger on crossings in the positive direction, the negative direction, or both.
Lines support multiple vertices, so you can follow a non-straight path — useful for doorways, aisles, or other irregular boundaries.